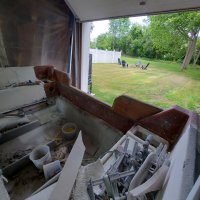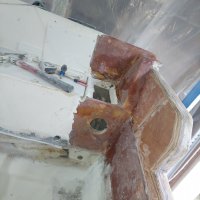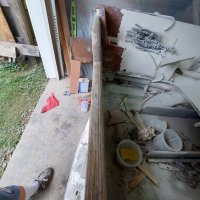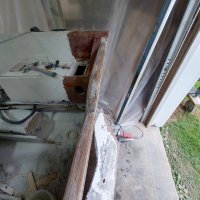
Redoing a 79 mako, epoxy or ester

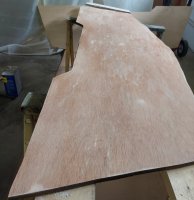
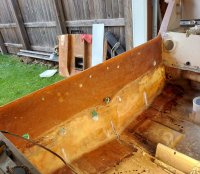
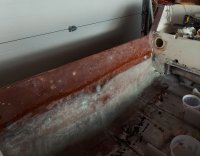
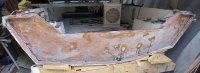
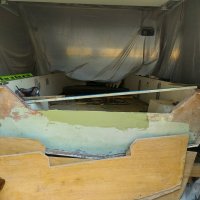
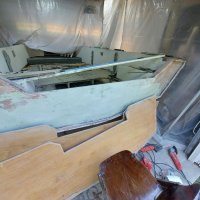
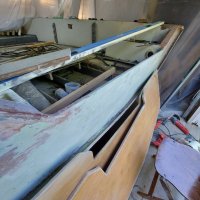
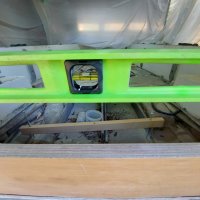
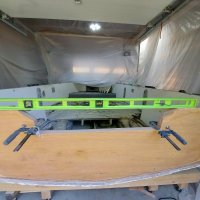
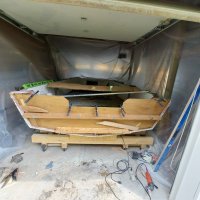
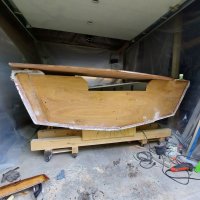
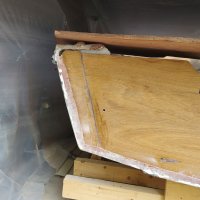
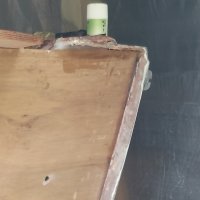
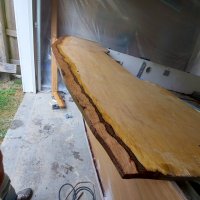
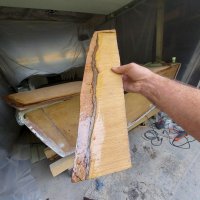
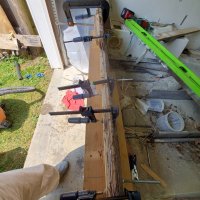
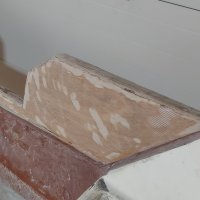
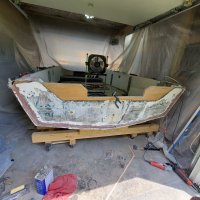
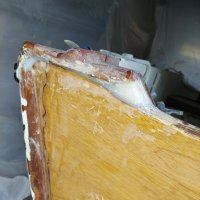
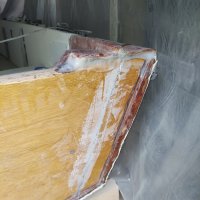
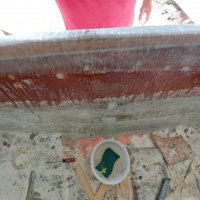
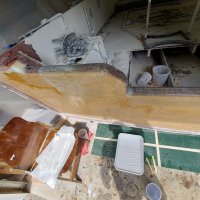
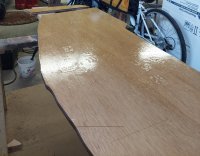
A little update.. have gotten fiberglass reinforced to the point I feel safe that it strong enough to bolt through and bond hydrotek to fiberglass skin. Also the hydrotek has been sealed with epoxy resin and sanded awaiting bonding. Filled all existing holes with peanut butter and have to sand them smooth. Am doing 1 board at a time to minimize the possibility of a mishap.
Waiting on helper that can mix up or spread the peanut butter to bond the ply. Will update as that gets done.
 

Attachments

  • 20220825_134041.jpg
    20220825_134041.jpg
    288.2 KB · Views: 332
  • 20220826_134723.jpg
    20220826_134723.jpg
    164.1 KB · Views: 312
  • 20220826_170226.jpg
    20220826_170226.jpg
    344.3 KB · Views: 322
  • 20220901_153343.jpg
    20220901_153343.jpg
    178.9 KB · Views: 310
  • 20220904_135318.jpg
    20220904_135318.jpg
    246.2 KB · Views: 318
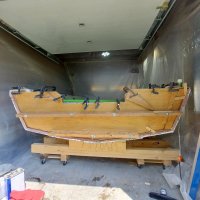
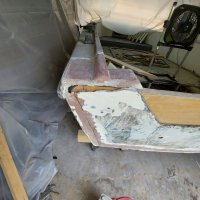
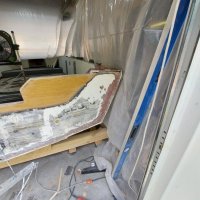
Hi to anyone who may be following this project. Had to stop for the year and restart end of may this year. I have not abandoned ship....yet...lol...had to apply alot of filler to make the new plywood flush enough to get a good bond to the fiberglass using thickened epoxy. That is now completed and plywood will be done 1 sheet at a time to ensure I get it right. Had to make a design change on the transom cut out for 20" shaft. Here are a few photos of where I am. Thanks for all the input and help from last year.
 

Attachments

  • 20230603_142001.jpg
    20230603_142001.jpg
    167.4 KB · Views: 292
  • 20230604_105846.jpg
    20230604_105846.jpg
    200.5 KB · Views: 293
  • 20230604_105840.jpg
    20230604_105840.jpg
    203.9 KB · Views: 294
  • 20230601_123143.jpg
    20230601_123143.jpg
    151.2 KB · Views: 263
  • 20230601_123114.jpg
    20230601_123114.jpg
    163.7 KB · Views: 260
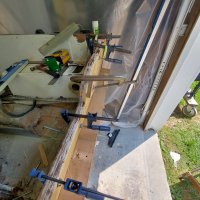
First piece of hydrotek is in. Solid as a rock. Did 1/8 on boat and 1/16 on ply. Clamped and bolted it snug and got squeeze out along the sides. Bolts could have used a tad more wax but eventually came out...lol...used peanut butter to fill in voids at top to provide bonding for next piece. Waiting for that to dry then wash sand clean and bond in next piece. I intentionally left top open in corners on each side open to pour a "syrup" consistency of thickened epoxy to allow that to flow anywhere down the sides and along bottom to ensure a solid and waterproof transom....or that is the therory...will deffinatly outlast my life. Thanks again for the help from start to this point. Will update as I go along.
 

Attachments

  • 20230610_141431.jpg
    20230610_141431.jpg
    196.3 KB · Views: 293
  • 20230611_120116.jpg
    20230611_120116.jpg
    195.2 KB · Views: 276
  • 20230611_120123.jpg
    20230611_120123.jpg
    192.4 KB · Views: 271
  • 20230611_120133.jpg
    20230611_120133.jpg
    87.2 KB · Views: 281
  • 20230611_120210.jpg
    20230611_120210.jpg
    206.3 KB · Views: 281
  • 20230611_120258.jpg
    20230611_120258.jpg
    203.3 KB · Views: 284
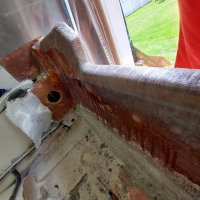
Have the next piece on and drying. Tomorrow will remove clamps and cut the 12mm piece to go inside where I raised and closed in from original transom. Then I will be applying glass up n over and onto the new ply. This will be tied into the inside and also the back inside and up onto the gunnels on both sides..will post more as I get these steps done.
 

Attachments

  • 20230617_143834.jpg
    20230617_143834.jpg
    247.5 KB · Views: 274
  • 20230617_143840.jpg
    20230617_143840.jpg
    291.8 KB · Views: 277
  • 20230617_143851.jpg
    20230617_143851.jpg
    183.7 KB · Views: 264
Not 100% sure yet. For the most part will follow along the way you described last year. Have old outer skin I plan on epoxying to the outside. Will tape that in and post a picture of my plan at that point. I may put in a piece of hydrotek glassed in on inside that lower motor mount bolts would go through making 4-6 thru bolts to in theory squeeze the new transom together. So if it fails it will do so epically. When I have all that accomplished will update final plan and pictures for opinion and suggestions. Thanks.
 
Just need to make sure we get that well tabbed for safety. I forgot what I told you.
 
So my next step is to add the 12mm piece to inside of new ply I added to outside. Just where it is raised and closed in. This should make it even on the inside. Then the plan is to add the glass from inside where I added the glass in lower area up and roll it over top and down the outside. I will tab it in on the inside where cleats are and up and over gunnel cap on both sides. I have the old skin that was cut out. Would like to epoxy that to the outer board and just add a layer or 2 of glass over the cut line. Then fair it out from that to as smooth as I feel it's good enough..lol...
 

Attachments

  • 20230619_130758.jpg
    20230619_130758.jpg
    162.3 KB · Views: 251
  • 20230619_130809.jpg
    20230619_130809.jpg
    160.5 KB · Views: 261
  • 20230619_130813.jpg
    20230619_130813.jpg
    126 KB · Views: 262
This is the outer skin. I will fill in area behind at the top with thickened epoxy and smooth that out. Then my thoughts are grind off gelcoat and add layers (tbd) up the sides and onto the gunnel cap area and possibly tab darts around to the area where cleats are. Open to either yup that's a good plan or what the hell ya thinking!!! Also I am going to pour some slightly thickened epoxy down both sides ti flow to bottom and fill in any voids that may exist there.
 

Attachments

  • 20230619_140321.jpg
    20230619_140321.jpg
    228.3 KB · Views: 268
  • 20230619_140330.jpg
    20230619_140330.jpg
    206.3 KB · Views: 259
  • 20230619_140512.jpg
    20230619_140512.jpg
    210.6 KB · Views: 256
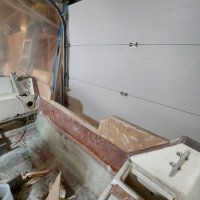
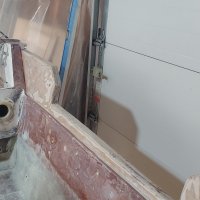
So all the hydrotek is in. Radius cut along top edge for glass. Gelcoat ground back off inside to tab glass to. Still have to add peanut butter in a few places for inside radius then I will start glassing.
 

Attachments

  • 20230626_113511.jpg
    20230626_113511.jpg
    245.6 KB · Views: 262
  • 20230626_113451.jpg
    20230626_113451.jpg
    153.6 KB · Views: 261
  • 20230626_113545.jpg
    20230626_113545.jpg
    234.8 KB · Views: 244
  • 20230626_113538.jpg
    20230626_113538.jpg
    212.3 KB · Views: 256
So I poured epoxy down each side to fill in and seal the new core. Once dried I added peanut butter to area I used to fill any voids. This transom is not going anywhere and no water will be coming in. Any bolts or screws from this point will be oversize drilled first then peanut butter and redrilled. When all this has dried will wash off and sand and add fiberglass to tie it in. Thanks to fall guy and ondarvr and others for guidance and suggestions...will add more as I get'er done..hojo
 

Attachments

  • 20230702_141744.jpg
    20230702_141744.jpg
    186.1 KB · Views: 255
  • 20230702_141733.jpg
    20230702_141733.jpg
    190.6 KB · Views: 258
Started putting fiberglass on. 1st layer was port to starboard with 2" down each way inside and out. Next layer is going from inside over the top and down 3". So increased tabb by 1". Had to stop after 2 pieces for the day. Will have to wash off amine and finish going across overlapping by about 2" the previous piece. Then will go back port to starboard with 3rd layer to tie this in. Still arguing in my mind whether to bond old outer skin back on or just add a few new sheets of glass. Will let ya know what final decision is...
 

Attachments

  • 20230707_153334.jpg
    20230707_153334.jpg
    257.4 KB · Views: 264
  • 20230707_153331.jpg
    20230707_153331.jpg
    237 KB · Views: 258
  • 20230707_153322.jpg
    20230707_153322.jpg
    249 KB · Views: 257
Forum posts represent the experience, opinion, and view of individual users. Boat Design Net does not necessarily endorse nor share the view of each individual post.
When making any potentially dangerous or financial decision, always employ and consult appropriate professionals. Your circumstances or experience may be different.

  • Back
    Top